Plenty of guitar maintenance is perfectly safe to do at home. But a handful of DIY repairs are ones repair techs see over and over again, usually after a video made the job look like a five-minute fix. These are the ten that go wrong most often, why they go wrong, and what to do instead.
| DIY repair | What failure looks like | Can it be undone? |
|---|---|---|
| Forcing the truss rod | Stripped nut, rod won't turn, cracked wood, snapped rod | Sometimes. A snapped rod is a major repair |
| Filing nut slots | Open strings buzz or sound sitar-like | No. The nut needs a shim or replacement |
| Sanding the acoustic saddle | Buzz, weak volume, uneven undersaddle pickup | No. The saddle needs a shim or replacement |
| Super-gluing a lifting bridge | Bridge lifts again; old glue is now contaminated | Yes, with extra cleanup work |
| Filling a crack yourself | Crack locked open, glue stains, crack keeps running | Partly. Stains in bare wood can be permanent |
| Leveling frets with a file | Flat-topped frets, new buzz, scratched fretboard | Usually. Sometimes needs a refret |
| Dressing fret ends | Gouged binding, scratched finish, rough edges | Mostly |
| Rewiring electronics | Cutting out, hum, dead pickup, thin out-of-phase tone | Yes |
| Oversized screws in stripped holes | Split wood around strap buttons, tuners or pickguard | Yes, by plugging the holes |
| Refinishing or sanding the neck | Sticky or uneven finish, lost value on vintage guitars | Value lost on a vintage guitar doesn't come back |
1. Why is cranking the truss rod a common DIY mistake?
Because the truss rod gets blamed for problems it doesn't control. The rod sets neck relief, the slight forward bow in the neck. It isn't the main way to set string height, which is the bridge's job. Players crank the rod trying to lower the action, run out of thread, and keep going.
- What goes wrong: the adjusting nut strips, the rod seizes, the wood around the adjustment cavity cracks, or the rod snaps.
- Do this instead: turn it a quarter turn at most, retune, and let the neck settle before you judge the result. If it feels stiff, stop. Our truss rod guide walks through it step by step.
2. What happens if you file nut slots too low?
Open strings start buzzing against the first fret, and some develop a sitar-like rattle. Nut slots are cut in hundredths of an inch. A few strokes too many with the wrong file and the slot is too deep, and there's no way to put material back.
3. Why does sanding an acoustic saddle cause problems?
Taking material off the bottom of the saddle is the right way to lower acoustic action, but it has to stay perfectly flat and square. A rocked or rounded saddle bottom loses contact with the bridge. That costs volume and makes undersaddle pickups uneven from string to string. Take it too far and you get buzz plus a weak string break angle.
It's also worth knowing that very high acoustic action is sometimes a sign the guitar needs a neck reset, not a lower saddle. Sanding the saddle to nothing just hides the real problem.
4. Can I glue my lifting acoustic bridge myself?
We don't recommend it. A bridge lifts because the glue joint has failed. That usually happens because of heat, humidity changes or old glue under constant string tension. Squeezing super glue, wood glue or epoxy into the gap doesn't create a real bond. The bridge lifts again, and now the repair has to start with removing your glue.
5. Should I fill a guitar crack with glue or wood filler?
No. Most top and side cracks in acoustic guitars are caused by the wood drying out and shrinking. The crack has to be closed first, often by slowly bringing the guitar back to normal humidity. Then it's glued and usually reinforced from inside with small cleats. Filling an open crack locks it open. Glue that soaks into bare wood can leave dark stains that are very hard to remove.
If you've found a crack, keep the guitar in its case with a humidifier and bring it in. Our humidity guide for Spokane players explains why winter is crack season here.
6. Why do DIY fret level jobs fail?
Fret leveling looks simple: sand the tops of the frets flat, then round them back over. In practice it takes:
- A neck that's adjusted dead straight first, with no relief.
- A truly flat leveling beam, not a hardware-store file or block.
- Re-crowning every fret, so each one has a rounded top with a single contact point.
- Polishing, and protecting the fretboard the whole time.
The usual DIY result is frets with wide flat tops. They make intonation vague and create new buzz in places that were fine before. Taking too much off can also leave frets too low to level again, which means a refret.
7. What goes wrong when dressing sharp fret ends?
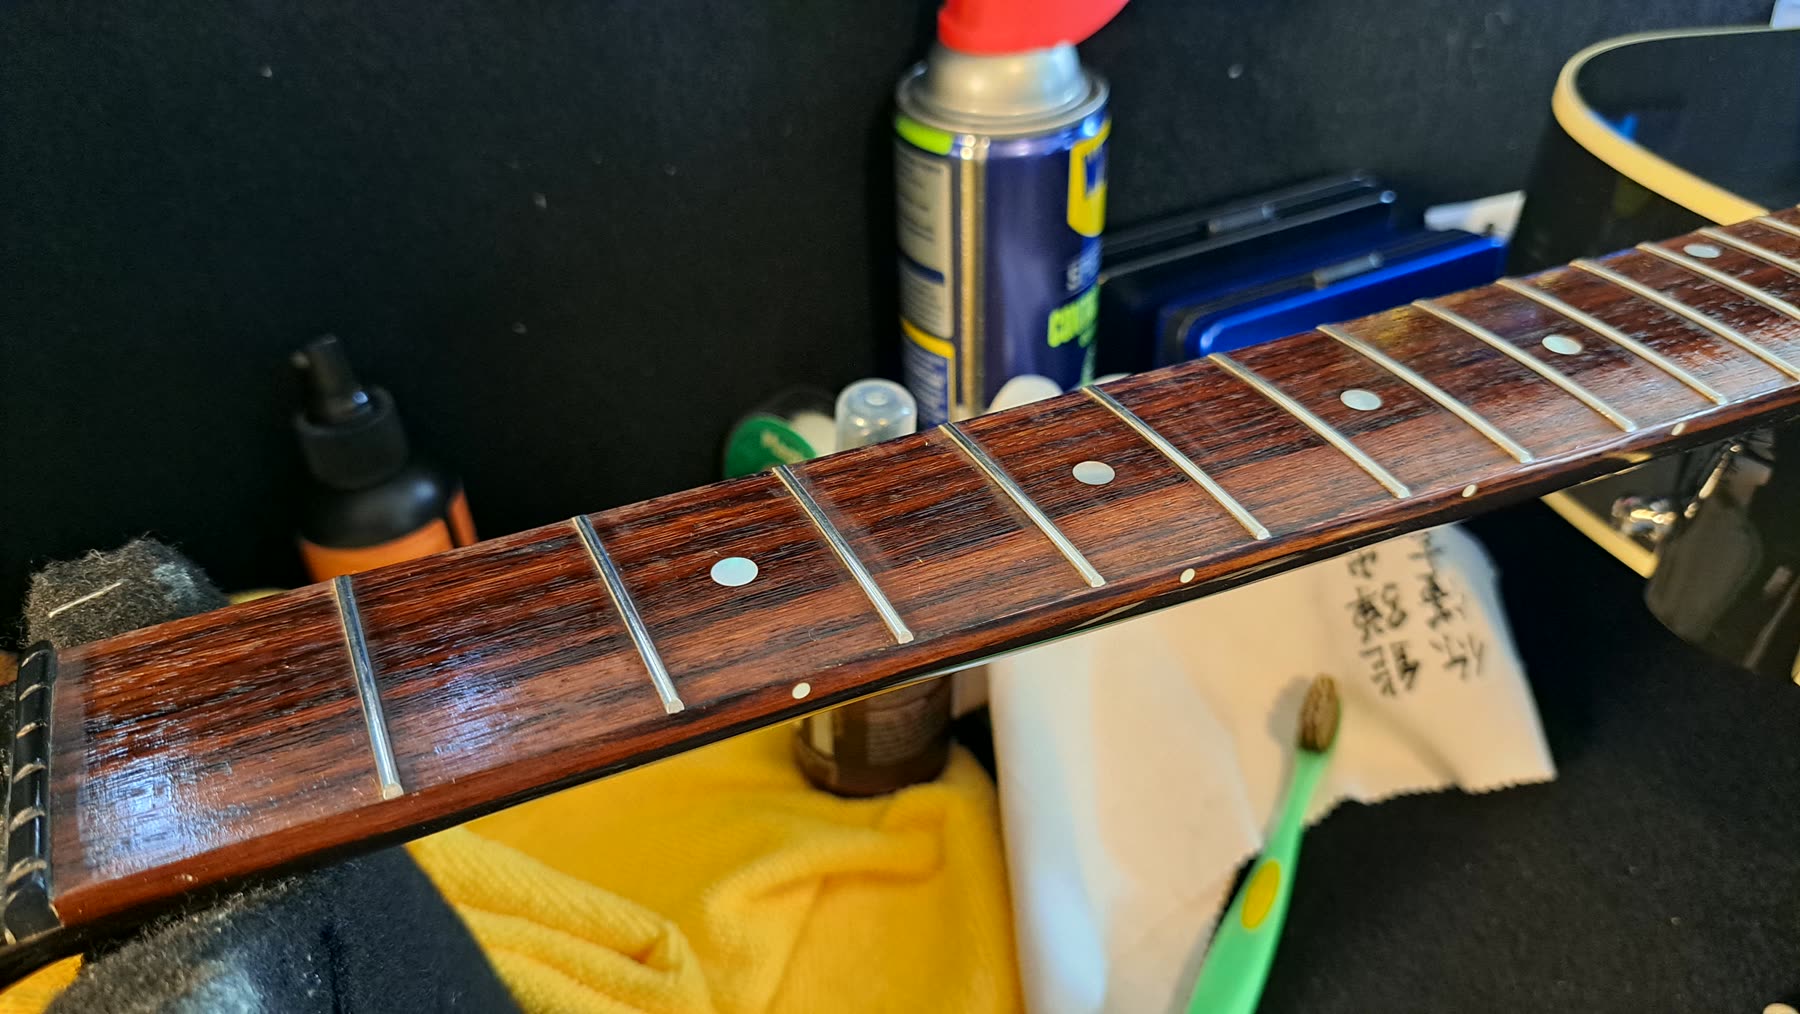
Sharp fret ends usually show up in winter, when the fretboard shrinks and leaves the fret wire sticking out past the edge. Filing them with a regular file tends to gouge the binding, scratch the finish on the neck, or leave the ends square instead of rounded and smooth. Fret end dressing is $60 at our shop, and it's included in our Performance and Revival packages.
8. Why do DIY guitar wiring jobs fail?
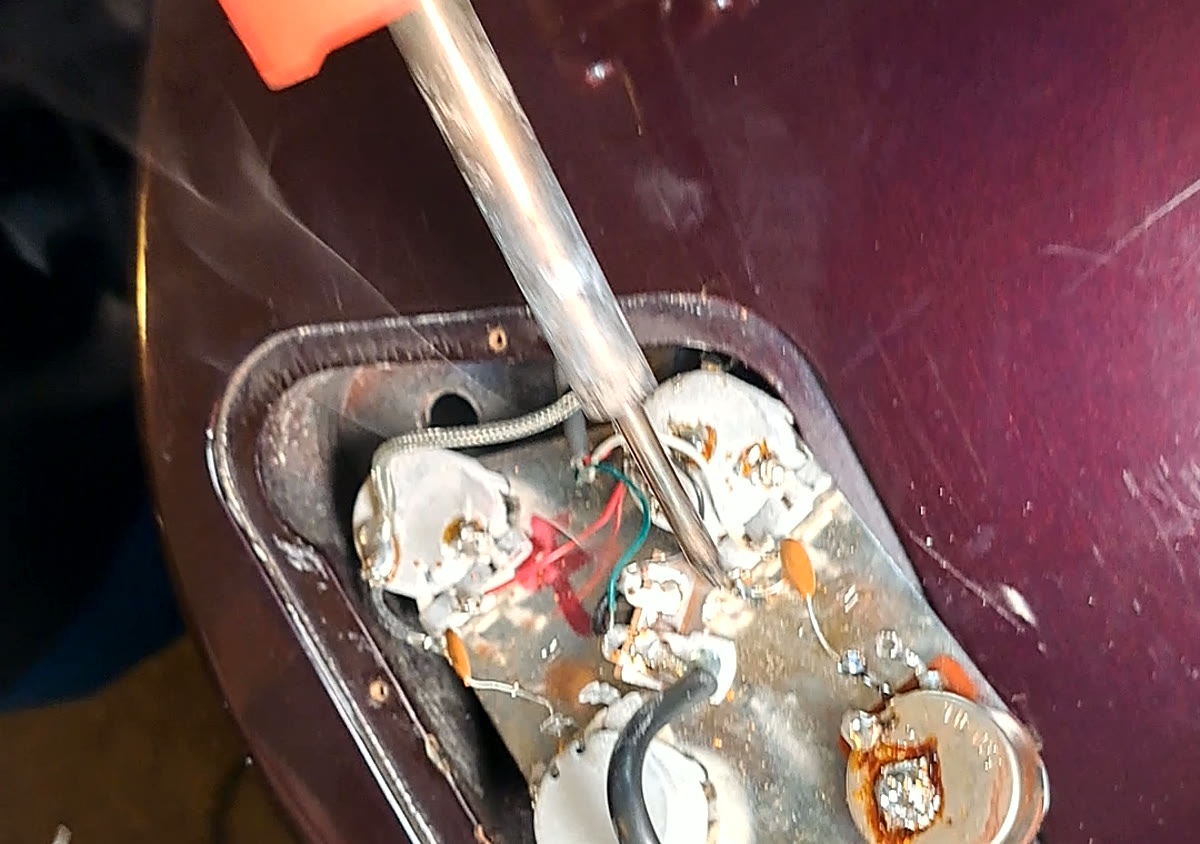
Swapping pickups or rewiring a guitar is one of the most popular DIY projects. It's also one of the most common jobs repair shops end up redoing. The usual causes:
- Cold solder joints: dull, grainy blobs that work at first and then cut in and out.
- Overheating parts: holding the iron on a pot or switch too long can damage it.
- Wrong solder: acid-core plumbing solder corrodes electronics. Use rosin-core electronics solder.
- Out-of-phase pickups: a thin, hollow tone when two pickups are on together.
- Grounding mistakes: loud hum, or a guitar that only works when you touch the strings.
The full breakdown is in our guitar electronics guide.
9. Can I just use a bigger screw in a stripped hole?
It's tempting, but a bigger screw in a strap button, tuner or pickguard hole often splits the wood. A loose strap button is also how a lot of guitars end up on the floor. The right fix is to plug the hole with a snug hardwood dowel or glued wood shims, then drill a correctly sized pilot hole and reuse the original screw.
10. Should I refinish or sand my guitar's neck myself?
On a vintage or collectible guitar, almost never. Original finish is a big part of a vintage guitar's value, and a refinish can't be undone. On any guitar, sanding the neck changes its shape and exposes bare wood to sweat and moisture. Spray-can finishes often stay soft and sticky for weeks.
The same caution applies to polish. Some furniture polishes contain silicone, which makes future finish touch-ups much harder. Stick to products made for guitars.
Which guitar repairs are actually safe to DIY?
These are low-risk jobs most players can do with basic tools:
- Changing strings and cleaning the guitar.
- Conditioning an unfinished rosewood or ebony fretboard. Finished maple boards don't need it.
- Tightening a loose output jack nut, while holding the jack so the wires don't twist.
- Small pickup height changes, and small intonation tweaks with a tuner.
- Very small truss rod adjustments, if you follow the rules above.
A good rule: if a job removes material, uses glue or heat, or you can't easily put it back the way it was, it's worth a professional's eyes first.
When should you stop and take your guitar to a repair shop?
Stop when:
- Something feels stiff or makes a noise it shouldn't.
- You see a crack or a gap under the bridge.
- A problem gets worse after an adjustment.
- The fix involves files, sandpaper, glue or a soldering iron and you haven't done it before.
A professional setup is often all the guitar needed in the first place. And if a DIY repair has already gone sideways, don't worry. It's common, and most of it is fixable.
Frequently asked questions
What guitar repairs can I safely do myself?
String changes, cleaning and conditioning an unfinished fretboard, tightening a loose output jack nut or strap button, small pickup height changes and small intonation adjustments are all safe for most players. Anything that removes material, like filing, sanding or cutting, or anything involving glue or heat, is where DIY repairs usually go wrong.
Can a cranked truss rod be fixed?
Often, yes. If the nut is stripped or seized it can sometimes be freed or replaced. If the rod itself has snapped or the wood around it has cracked, the repair becomes a major job that can involve removing the fretboard. Stopping as soon as the rod feels stiff is what keeps this a small problem.
Is super glue bad for guitars?
Super glue (cyanoacrylate) has legitimate uses in a repair shop, such as seating frets and filling small finish chips. The problem is using it as a quick fix on cracks, bridges and braces. It can block a proper glue joint later and leave stains in bare wood, so the eventual repair costs more.
Why does my guitar buzz after I lowered the action?
Lowering the saddles or the bridge reduces the clearance between the strings and the frets. If the neck relief is too flat or the frets are uneven, strings will start hitting frets further up the neck. The fix is a balanced setup that adjusts relief, action and nut height together, and sometimes fretwork.
How much does it cost to fix a botched DIY guitar repair?
It depends on what was done. At Six String Revival a setup that corrects most adjustment mistakes starts at $60 for acoustic and $80 for electric, a fret level, crown and polish starts at $185, a partial rewire starts at $80, and structural repairs start at $200. Nut and saddle replacements are quoted per instrument.